Poor ventilation in a bathroom is a recipe for mold, peeling paint, and foggy mirrors, but adding a light fixture into the mix transforms a purely functional upgrade into an aesthetic improvement. Learning how to install bathroom exhaust fan with light allows you to solve two problems at once: clearing out humidity while brightening up a dim space. Whether you are replacing an old, noisy unit or cutting a fresh hole in the ceiling, this project is manageable for most DIY homeowners with the right preparation.

This guide provides a professional, step-by-step approach to help you complete the installation safely and effectively.
Safety First: Electrical Precautions
Before touching any wires or cutting into drywall, safety must be your top priority. Working with electricity and ladders requires focus.
- Turn Off Power: Locate your home’s circuit breaker panel and flip the switch controlling the bathroom.
- Verify Zero Voltage: Never assume the power is off just because the light switch doesn’t work. Use a non-contact voltage tester to confirm there is no live current in the wires.
- Protective Gear: Wear safety goggles to protect your eyes from drywall dust and falling debris, and use a dust mask when cutting into the ceiling.
Tools and Materials Required
Having the right equipment on hand will prevent unnecessary trips to the hardware store.
- Tools:
- Power drill with driver bits and hole saw (optional)
- Drywall saw (jab saw)
- Wire strippers and needle-nose pliers
- Voltage tester
- Stud finder
- Tape measure and pencil
- Ladder
- Materials:
- Bathroom exhaust fan with light kit (ensure proper CFM rating for your room size)
- 4-inch or 6-inch flexible aluminum ducting
- Vent hood (roof or wall cap) if venting continuously to the outside
- Foil HVAC tape (not standard duct tape)
- Wire nuts/connectors
- Romex electrical cable (if running new lines)
Step 1: Planning and Sizing Your Fan
To ensure your new unit is effective, you must choose the right size. Fan power is measured in CFM (Cubic Feet per Minute). A general rule of thumb is 1 CFM per square foot of bathroom area. For example, a 50-square-foot bathroom needs at least a 50 CFM fan. Since you are installing a unit with a light, also consider the brightness (lumens) and color temperature to match your existing bathroom lighting.
You also need to plan your ventilation guide. The exhaust must terminate outside the home (through the roof or a side wall), never into an attic or crawlspace. Venting into enclosed spaces causes moisture buildup, leading to rot and mold.
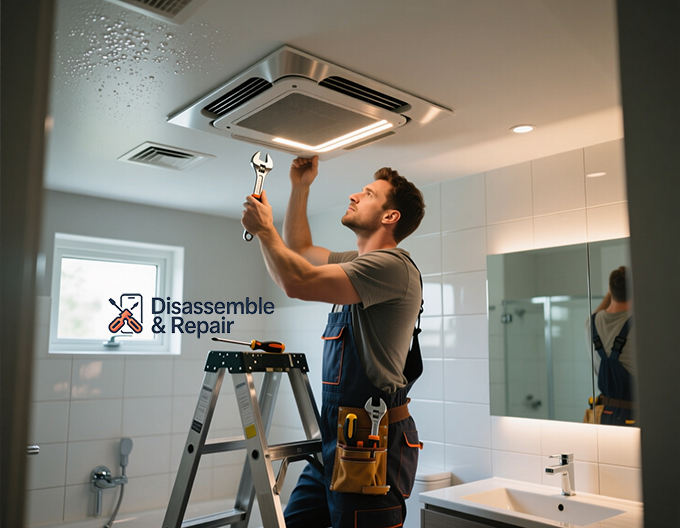
Step 2: Preparing the Ceiling Opening
If you are replacing an existing fan, remove the old grille and housing. You may find that your new fan housing is larger than the old one.
- Trace the Template: Most fans come with a paper template. Hold this against the ceiling where you want the fan. If replacing a fan, center it over the existing hole.
- Check for Joists: Use a stud finder to locate ceiling joists. Ideally, the fan housing should be mounted directly to a joist for stability.
- Cut the Drywall: Using your drywall saw, carefully cut along your traced line. Be gentle to avoid damaging hidden pipes or wires above the ceiling.
Step 3: Mounting the Fan Housing
Proper physical installation prevents rattling and noise.
- Attach the Connector: Insert the metal duct connector into the fan housing side slot before placing it in the ceiling.
- Secure to Joist: Insert the fan housing into the hole. If you have attic access, this is easier to do from above. Secure the housing to the joist using the screws provided.
- Suspension Brackets: If the hole is not next to a stud, or if you are working from below (room-side installation), use the expanding suspension bars included with most kits. These stretch to fit between two joists, suspending the fan in the center.
Step 4: Connecting the Ductwork
This is a critical step in any bathroom fan installation.
- Connect Ducting: Slide your flexible ducting over the fan’s exhaust port.
- Seal the Joint: Use foil HVAC tape to seal the connection tightly. Do not use cloth duct tape, as the heat and moisture will cause it to fail over time.
- Route to Exterior: Run the ducting to your wall or roof vent cap. Keep the run as straight as possible; every bend reduces the fan’s efficiency.
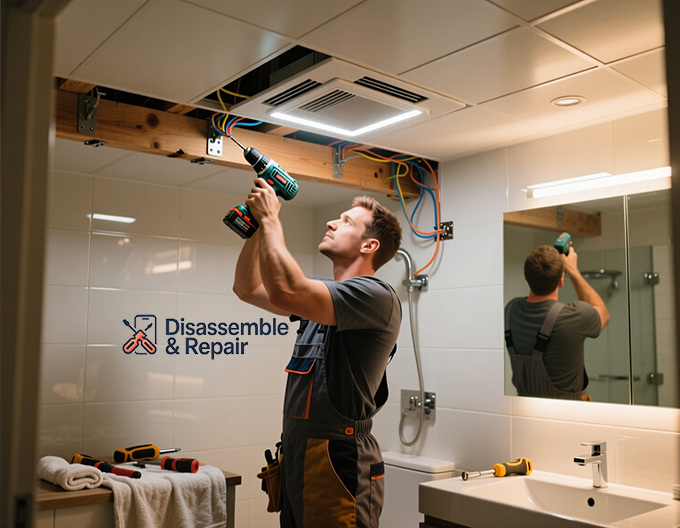
Step 5: Wiring the Fan and Light
This is the most technical part of the process. A standard exhaust fan with a light can be wired in two ways:
- Single Switch: Both the fan and light turn on together.
- Dual Switch: The fan and light operate independently (requires a 3-wire cable setup: red, black, white, and ground).
Standard Wiring Instructions (Single Switch):
- Open the Junction Box: Locate the wiring compartment on the fan housing.
- Connect Grounds: Connect the house ground wire (bare copper or green) to the fan’s green ground screw or wire.
- Connect Neutrals: Twist the white house wire together with the white fan wire(s) using a wire nut.
- Connect Hots: Connect the black house wire to the black fan wire (motor) and the blue/red wire (light). If you want them on separate switches, you would connect the incoming “fan switch” hot wire to the fan motor wire, and the “light switch” hot wire to the light wire.
- Tuck and Close: Gently push the wires back into the metal junction box and replace the cover.
Note: Always consult the specific wiring diagram provided by the manufacturer, as wire colors can vary slightly.
Step 6: Final Assembly and Testing
With the heavy lifting done, it’s time to finish the job.
- Install the Blower Assembly: If you removed the motor/blower to make mounting easier, reinstall it now by snapping or screwing it into the housing.
- Plug in Components: Most modern fans have internal plugs. Plug the fan motor and the light unit into the receptacles inside the housing.
- Attach the Grille: Squeeze the mounting springs on the grille and insert them into the slots in the housing. Push the grille up until it sits flush against the ceiling.
- Install the Bulb: Screw in your light bulb or connect the LED module.
- Test: Turn the power back on at the breaker. Flip the switch to ensure both the fan suctions air and the light illuminates.
Troubleshooting Tip
If the fan is noisy, check that the ducting isn’t kinked and that the housing is securely screwed to the joist. If moisture remains after a shower, check the exterior vent to ensure the damper opens freely.
Conclusion
Mastering how to install bathroom exhaust fan with light fixtures is a rewarding DIY project that immediately improves your home’s air quality and comfort. By following this guide, you ensure that your bathroom remains free of excess moisture while enjoying the added benefit of better overhead lighting. Remember, if you are ever unsure about the electrical wiring or structural modifications, consulting a professional electrician is always the safest choice.
FAQ: Installing a Bathroom Exhaust Fan with Light
This FAQ addresses common questions about installing a bathroom exhaust fan with a light, based on the provided guide.
Why should I install a bathroom exhaust fan with a light?
Installing a bathroom exhaust fan with a light helps solve two common bathroom problems simultaneously. It clears out humidity to prevent mold, peeling paint, and foggy mirrors (poor ventilation), while also brightening up a dim space, turning a functional upgrade into an aesthetic improvement.
Is installing a bathroom exhaust fan with a light a difficult DIY project?
Yes, this project is considered manageable for most DIY homeowners, provided they have the right preparation and follow professional, step-by-step guidance.
What are the most important safety precautions to take before starting this installation?
Safety is paramount. Before touching any wires or cutting into drywall, you must:
- Turn Off Power: Locate and flip the circuit breaker switch controlling the bathroom at your home’s main panel.
- Verify Zero Voltage: Always use a non-contact voltage tester to confirm there is no live current in the wires, even if the light switch doesn’t work.
- Wear Protective Gear: Use safety goggles to protect your eyes from debris and a dust mask when cutting into the ceiling.
What key tools and materials are required for this project?
Essential tools include a power drill, drywall saw, wire strippers, voltage tester, stud finder, tape measure, pencil, and a ladder. Key materials include the exhaust fan with light kit, flexible aluminum ducting, a vent hood (roof or wall cap), foil HVAC tape, wire nuts, and potentially new Romex electrical cable.
How do I determine the correct size (CFM) for my bathroom exhaust fan?
To ensure effectiveness, choose a fan with a CFM (Cubic Feet per Minute) rating appropriate for your room size. A general rule of thumb is 1 CFM per square foot of bathroom area. For example, a 50-square-foot bathroom needs at least a 50 CFM fan.
What should I consider regarding the light component of the fan?
Beyond CFM, consider the light’s brightness (lumens) and color temperature to ensure it complements or matches your existing bathroom lighting scheme.
Where should the exhaust fan’s vent terminate?
The exhaust must terminate outside the home, either through the roof or a side wall. It should never vent into an attic or crawlspace, as this will cause moisture buildup, leading to rot and mold.
What is the initial step when preparing the ceiling opening?
If you are replacing an existing fan, the first step is to remove the old grille and housing. Then, you’ll typically use the new fan’s paper template to trace the outline for the opening.


