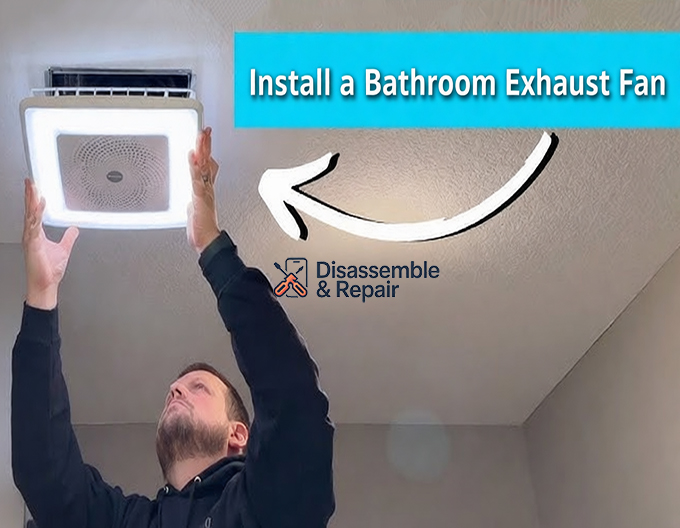
Excess humidity is the silent enemy of any home, causing peeling paint, warped wood, and the rapid growth of mold and mildew. Learning How to Install a Bathroom Exhaust Fan is one of the most effective ways to protect your property and improve indoor air quality. Whether you are building a new bathroom or upgrading a space that lacks ventilation, this project is manageable for a DIY homeowner with the right tools and preparation. In this guide, we will walk you through the precise steps to Install a Bathroom Exhaust Fan properly, ensuring efficient airflow and a healthier home environment.
Why Proper Ventilation Matters
Before picking up your tools, it is essential to understand why a bathroom fan installation is critical. Bathrooms generate significant moisture during showers and baths. Without a way to exhaust this humid air to the outside, the moisture settles on surfaces, creating a breeding ground for bacteria and mold.
A properly sized exhaust fan removes moist air, odors, and airborne contaminants. When you Install a Bathroom Exhaust Fan, you are not just adding a mechanical device; you are installing a defense system for your home’s structural integrity.
Choosing the Right Fan (CFM and Sones)
- CFM (Cubic Feet per Minute): This measures airflow capacity. A standard rule of thumb is 1 CFM per square foot of bathroom area.
- Sones: This measures sound output. Lower sone ratings mean a quieter fan (1.0 or less is considered very quiet).
Tools and Materials Required
To successfully execute this DIY exhaust fan project, you need to gather specific equipment. Having everything ready will streamline the process and prevent mid-project interruptions.
Tools:
- Power drill with bits and hole saw
- Drywall saw or reciprocating saw
- Stud finder
- Circuit tester (non-contact voltage tester)
- Wire strippers and electrician’s pliers
- Tape measure and pencil
- Safety goggles and dust mask
Materials:
- Bathroom exhaust fan unit
- Flexible or rigid ductwork (check local codes)
- Exterior vent cap (roof or wall)
- Foil duct tape
- Wire nuts (connectors)
- Romex electrical cable (if running new power)
Pre-Installation Safety and Planning
Safety is paramount when dealing with electrical components and structural modifications.
- Power Down: Always turn off the circuit breaker controlling the bathroom lights and outlets. Use your circuit tester to verify the power is off before touching any wires.
- Location Planning: The fan should be located near the shower or tub for maximum efficiency. However, you must ensure the location does not interfere with ceiling joists, plumbing pipes, or existing wiring in the attic.
- Venting Strategy: Determine where the air will exit the house. You must vent to the outdoors—through the roof or a side wall—never into the attic or soffit, as this relocates the moisture problem rather than solving it.
Step-by-Step Guide to Installation
Below is a detailed walkthrough of the installation process. If you are dealing with an existing unit rather than a new installation, the process might differ slightly. For specific instructions on swapping out units, you might want to read how to Replace an Old Bathroom Exhaust Fan in 7 Steps.
Step 1: Marking and Cutting the Ceiling
Once you have identified the optimal location between joists, use the template provided by the fan manufacturer.
- Hold the template against the ceiling and trace the outline with a pencil.
- Drill a pilot hole in each corner of your outline.
- Use a drywall saw to cut along the lines. Wear your dust mask and goggles, as falling debris is inevitable.
Step 2: Mounting the Fan Housing
Most modern fans are designed to mount directly to a ceiling joist.
- Insert the fan housing into the hole.
- Secure the housing brackets to the joist using the screws provided.
- If your fan housing spans the distance between two joists, extend the suspension bars until they contact both joists and screw them in place. Ensure the bottom edge of the fan housing is flush with the ceiling drywall.
Step 3: Installing the Ductwork
Proper duct installation is vital for the exhaust fan guide to work effectively. Kinks or sharp bends in the duct will reduce airflow and increase noise.
- Connect the ducting to the outlet port on the fan housing.
- Secure it with foil tape or a clamp.
- Run the ducting to your chosen exit point (roof or wall cap). Keep the run as straight and short as possible.
Step 4: Electrical Connections
This is often the most intimidating part for first-time installers. If you are unsure about the specific requirements for electrical safety, reviewing a guide on Wiring a Bathroom Exhaust Fan Safely will provide deeper insight into handling circuits and grounds.
Generally, the connection involves:
- Open the junction box on the fan housing.
- Run the electrical cable through the clamp connector.
- Connect black to black (hot), white to white (neutral), and green/bare to green/bare (ground) using wire nuts.
- Tuck the wires back into the box and secure the cover.
Step 5: Finishing the Exterior Vent
You must install a vent cap on the exterior of your home to prevent rain, birds, and insects from entering the duct.
- Cut the corresponding hole in your roof or sidewall.
- Attach the vent cap and seal the edges generously with exterior-grade caulk to prevent leaks.
- Connect the other end of your ductwork to the vent cap tailpipe inside the attic.
Step 6: Final Assembly
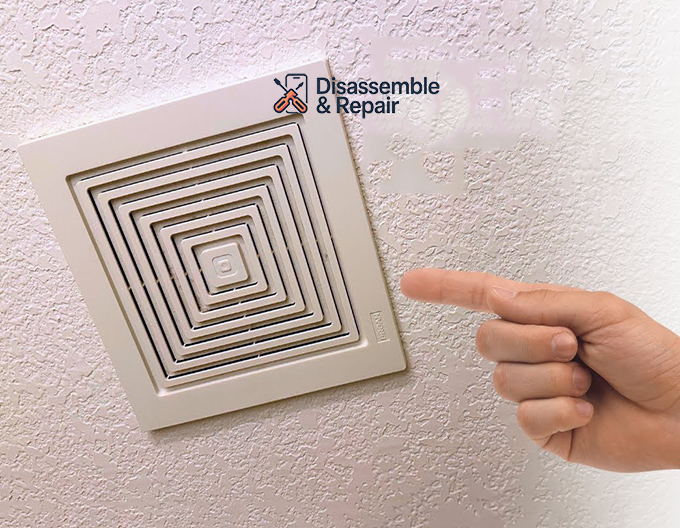
Back in the bathroom, install the fan motor (if it was removed during housing installation) and plug it into the receptacle inside the housing. Finally, attach the grille cover. These usually rely on tension springs that squeeze together and slot into the housing, pulling the grille tight against the ceiling.
Common Mistakes to Avoid
Even with a solid plan to Install a Bathroom Exhaust Fan, homeowners often make errors that compromise performance.
- Venting into the Attic: As mentioned, this causes attic mold and rot. Always vent outside.
- Using Undersized Wiring: Ensure your wire gauge matches the circuit amperage (usually 14-gauge for 15-amp circuits).
- Ignoring Insulation: In cold climates, uninsulated ducts can cause warm, moist air to condense inside the duct, dripping water back into the fan. Use insulated ducting to prevent this.
- Long Duct Runs: Excessive length or too many elbows restricts air movement. If a long run is unavoidable, consider stepping up to a larger duct diameter (e.g., 4-inch to 6-inch) to maintain airflow.
Conclusion
Completing a bathroom fan installation is a rewarding DIY project that pays immediate dividends in comfort and home maintenance. By following these professional steps, you ensure that moisture is effectively managed, prolonging the life of your paint, drywall, and fixtures. Remember to test the fan immediately after restoring power; a simple test involves holding a piece of toilet paper up to the grille—if the suction holds it in place, you have successfully created proper airflow. With patience and adherence to safety protocols, anyone can successfully Install a Bathroom Exhaust Fan and enjoy a fresher, cleaner bathroom environment.